Tutorial 1 - Basic Usage
Welcome to the DataMaker basic usage tutorial
The tutorial is designed for anyone interested in main functionalities of the DataMaker App, especially for testers, developers, or scientists, who struggle with the lack of realistic data. You will learn how to generate your own bespoke data sets. No previous knowledge is required to pass through this course; everything will be explained, and we will start from the very beginning.
What you will learn:
- gain access to the DataMaker app
- create your first template
- fill the template and choose appropriate data types
- export generated data in your chosen format
Gain access to the DataMaker app
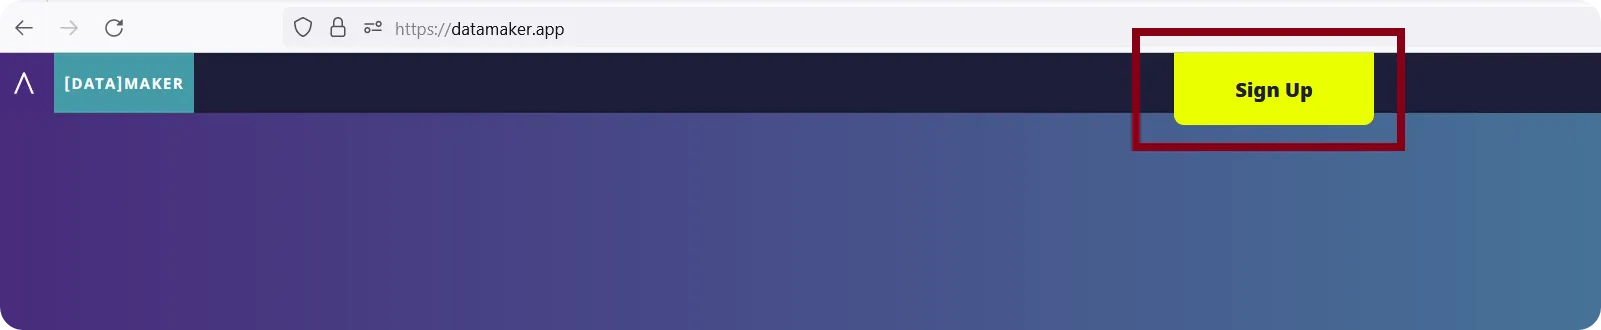
The journey begins with creating a new user account. Visit the home page and click on the “Sign Up” button.
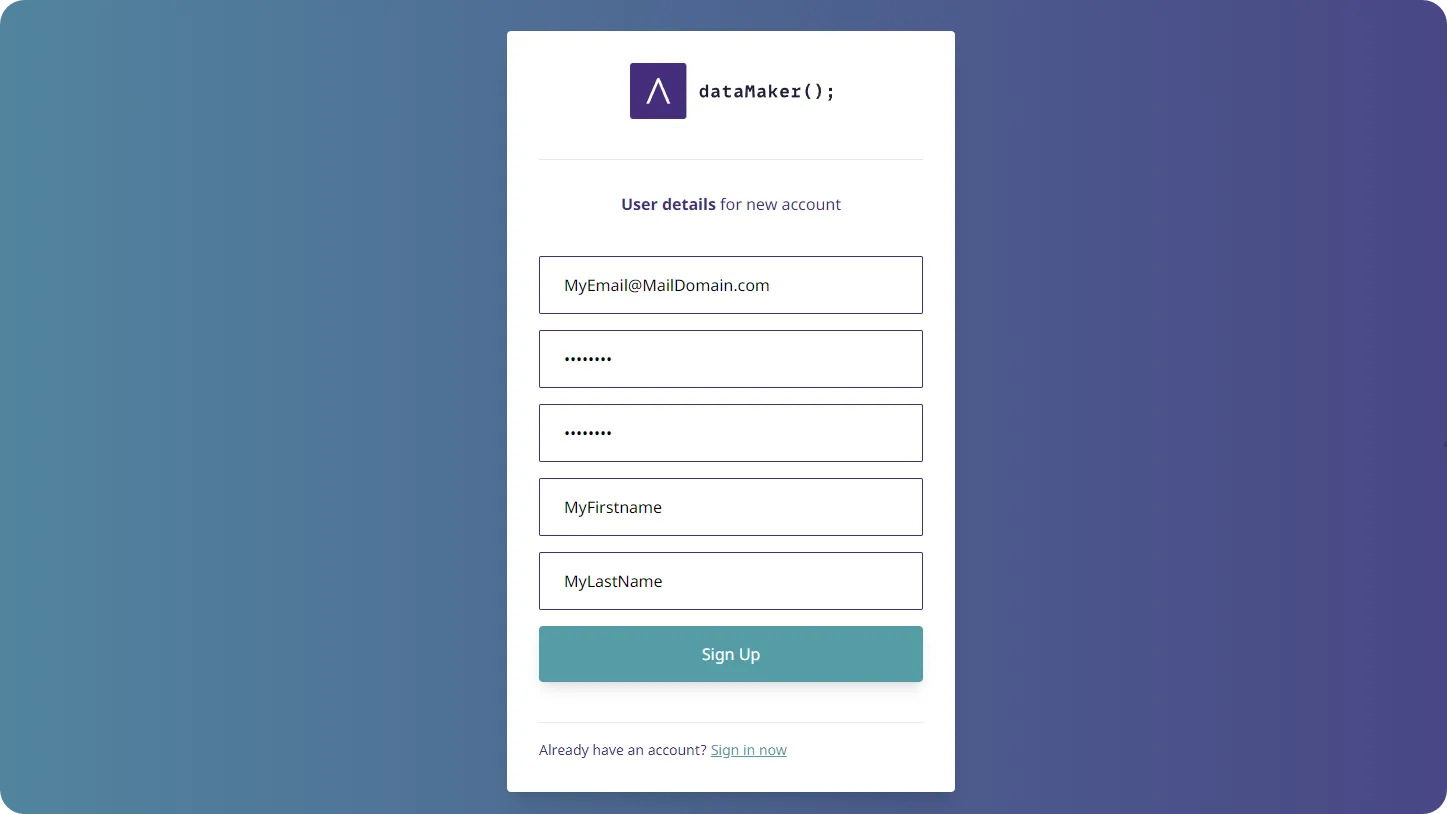
Complete the registration with your email, password, first name, and last name, then click “Sign Up”.
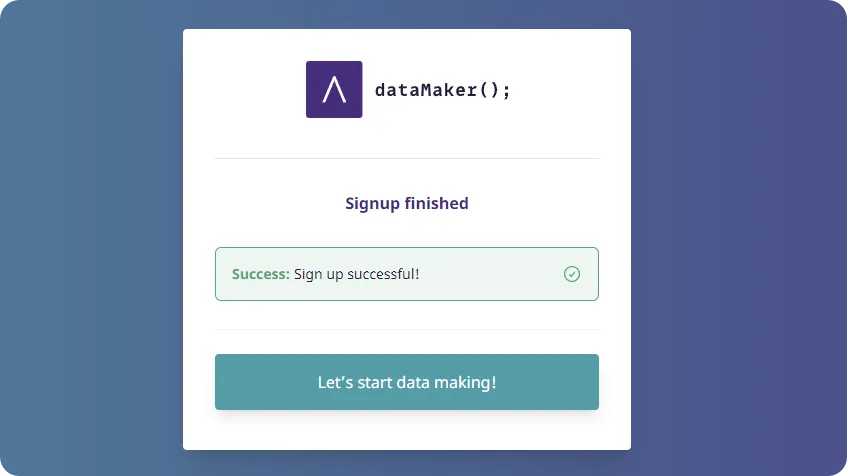
Upon successful registration, log in with your new credentials to start using the application.
Create the first template
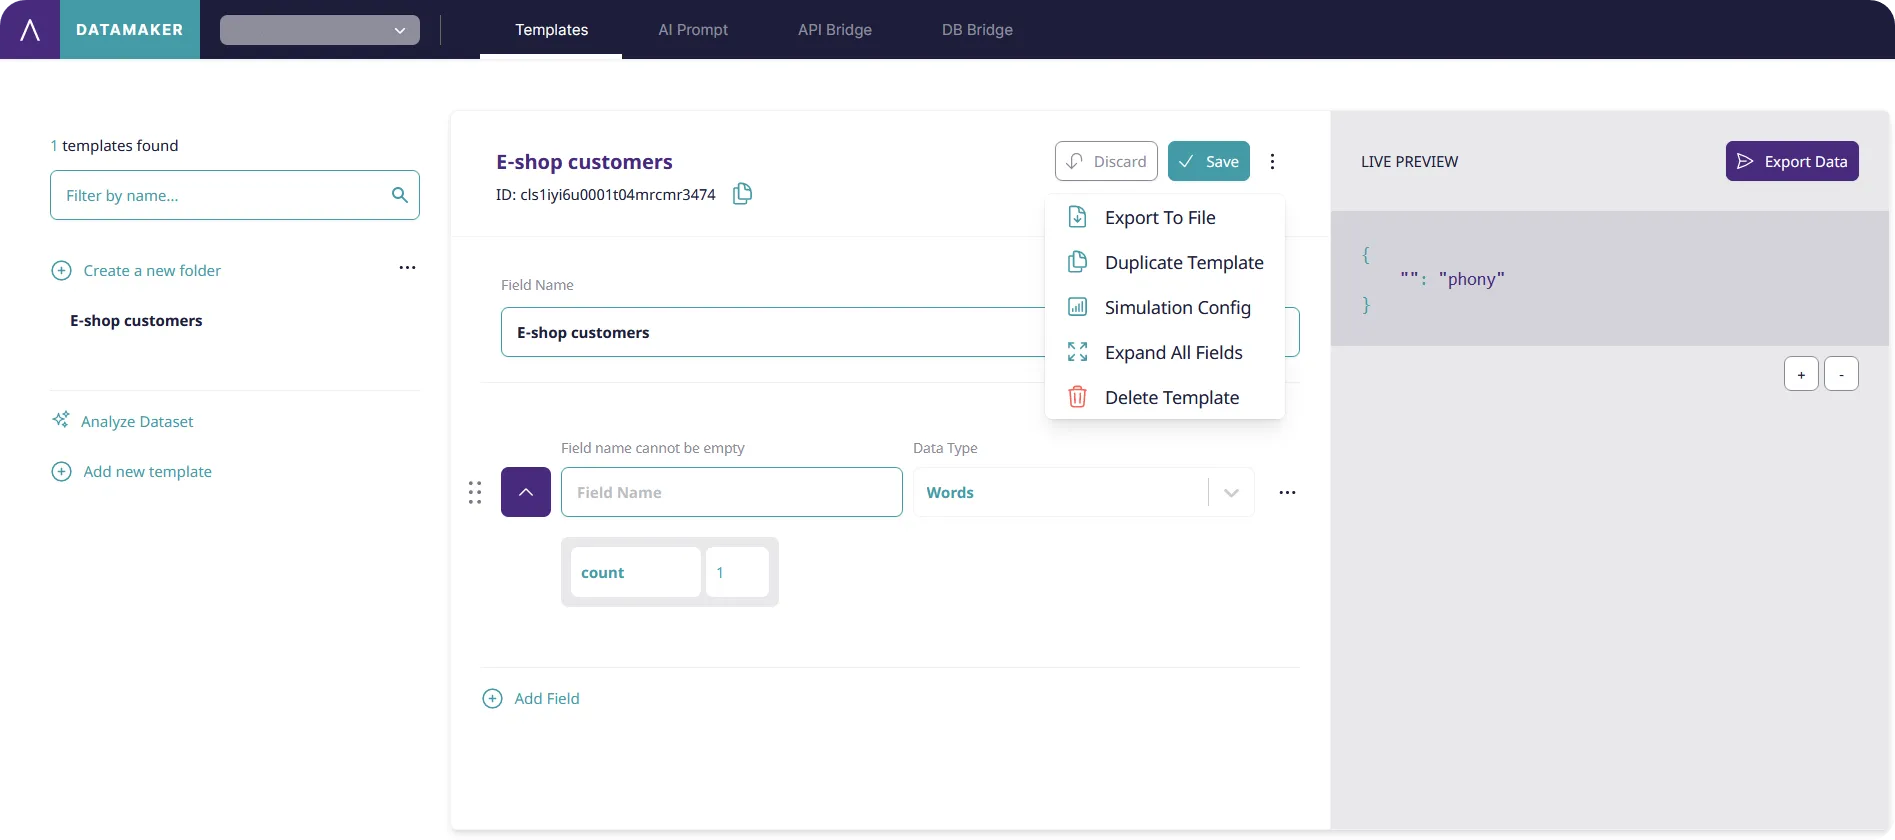
The initial step to create a new template is to click on the button “Create new template”.
The new template dialog appears, where the required field is the template name. Let’s call it, for example, “E-shop customers” and save it. You have created the empty template. You can also delete the template anytime you need by clicking on three dots next to the “Save” button and choosing “Delete Template” option.
How to fill the template and choose appropriate data types
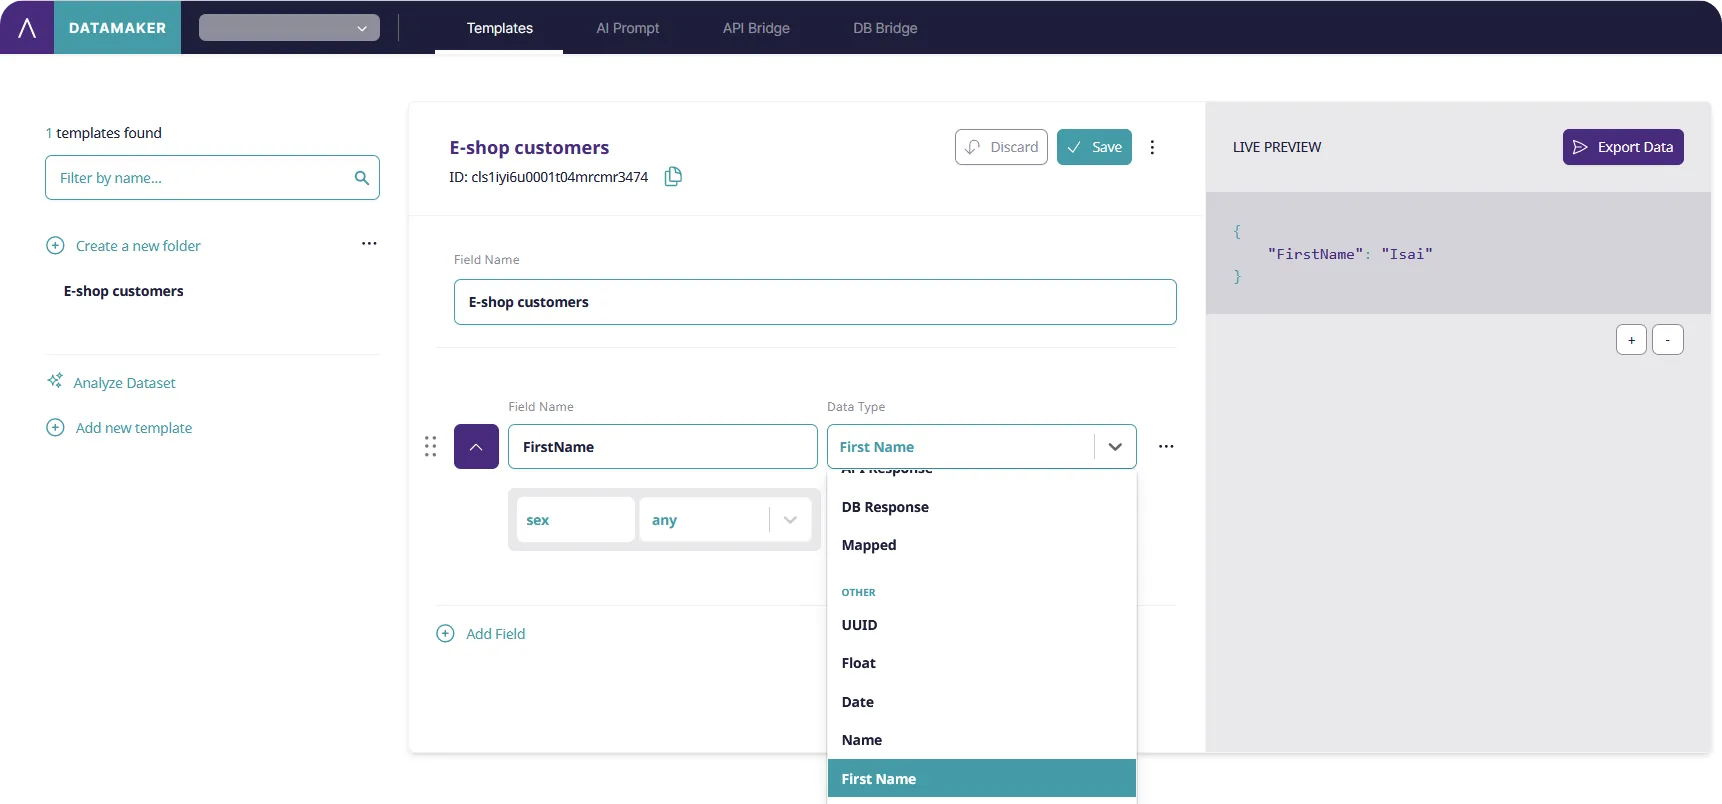
We are going to fill the template with user data needed from the customers of an e-shop, such as First Name, Last Name, Address, E-mail, Phone number. Enter “FirstName” into the “Field Name” input and open the drop-down list of “Data Types”. There are many data types with apparent descriptive names. For our new field “FirstName” we use data type “First Name”. It is possible to choose just male or female name; when switching the drop-down for sex, we will use the default “any” choice.
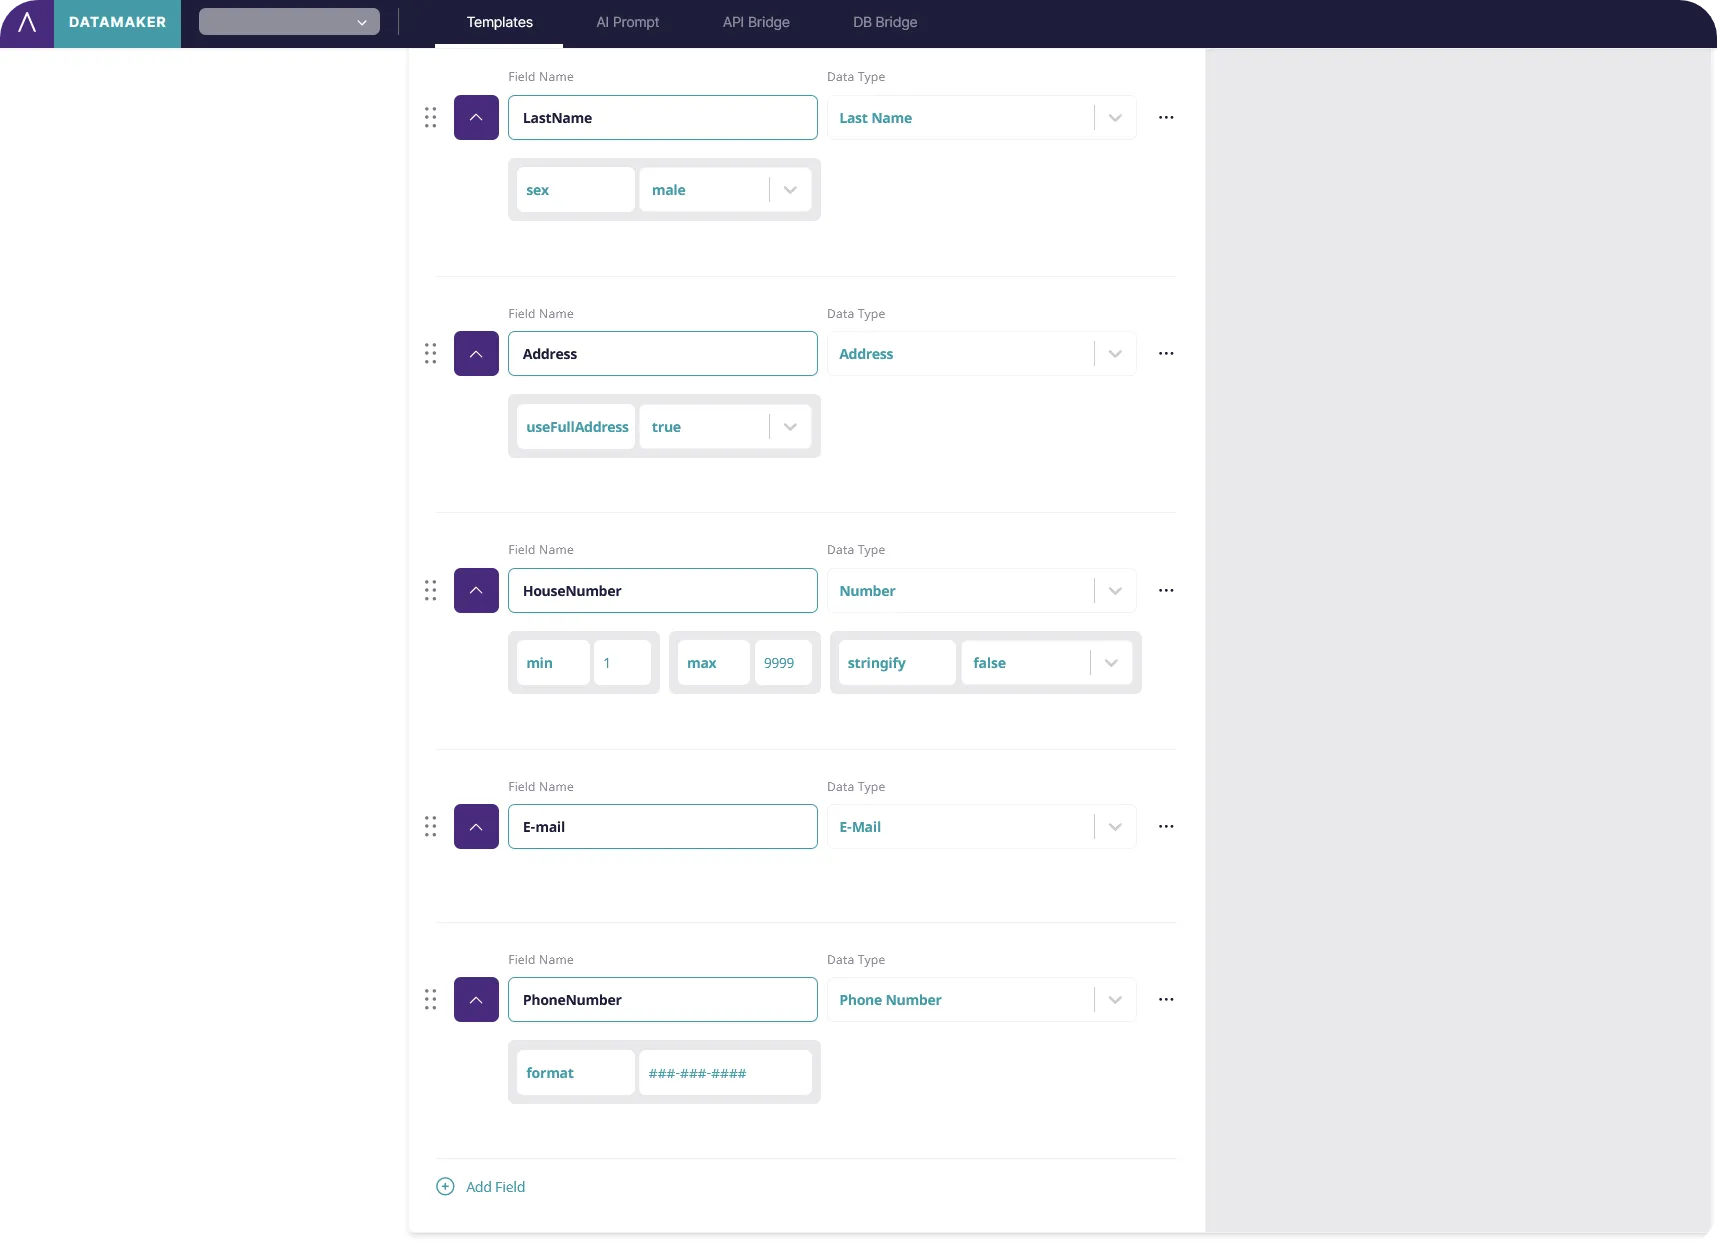
Always, when you need to add a new field, click the plus button. In the same way, we will add other fields and name them “LastName” with data type “Last Name”, “Address” with data type “Address”, if we want the address including the house number, we will set the option “useFullAddress” as “true”. We will add the House Number as a separate field using the “Number” data type. This will allow us to limit the minimum and maximum value, as well as keep the value in number format, not a string, if we set the “stringify” option to “false”.

We will also add “E-mail” with “E-mail” data type and “PhoneNumber” with “Phone Number” data type, that enables us to group the numbers, split them using e.g. spaces or hyphens, or add country code when necessary.
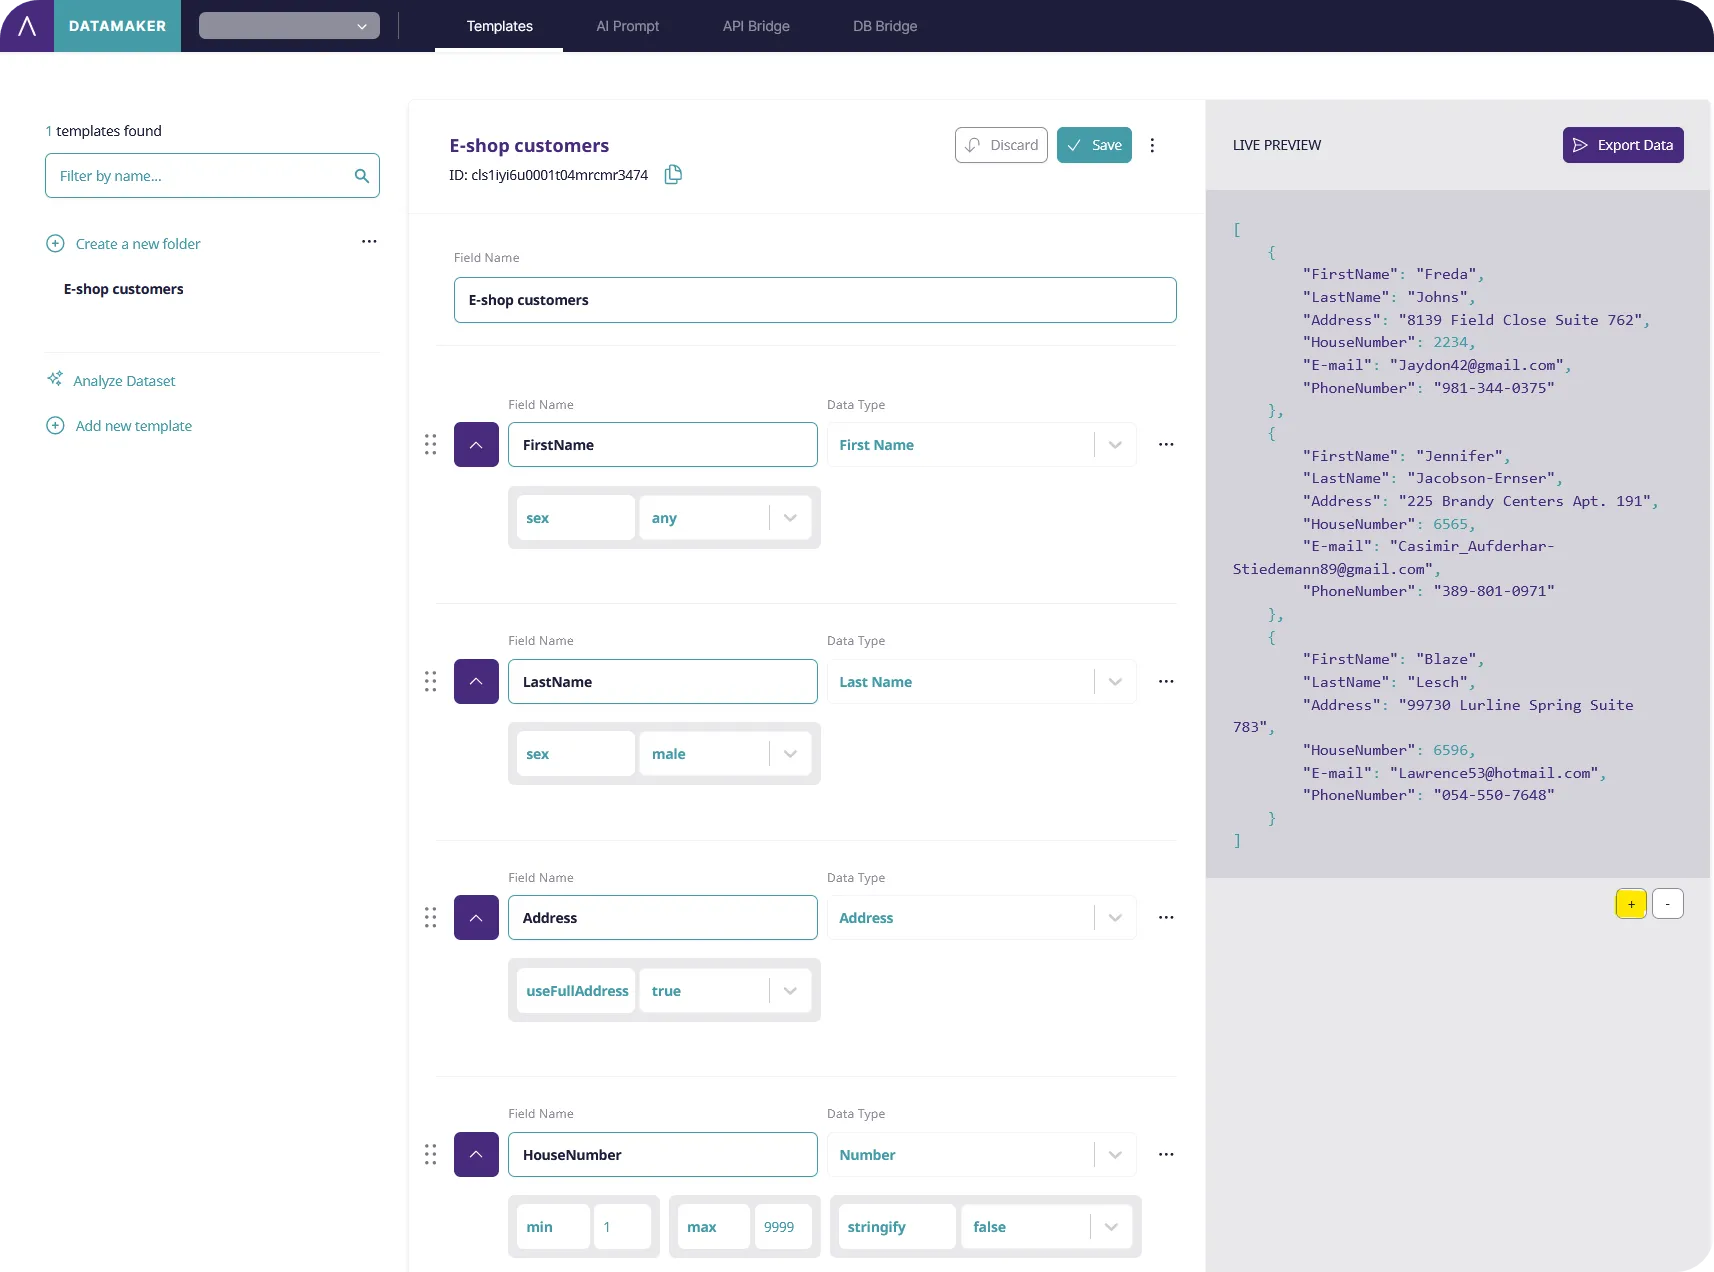
Now we will save the template by clicking on the save button. In the right column, we can see a data preview to check that they match the expected format. Clicking on the “+” button enables us to add more previews for a better picture.
How to export generated data with chosen data format
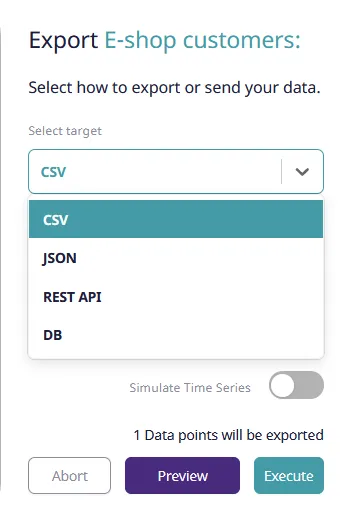
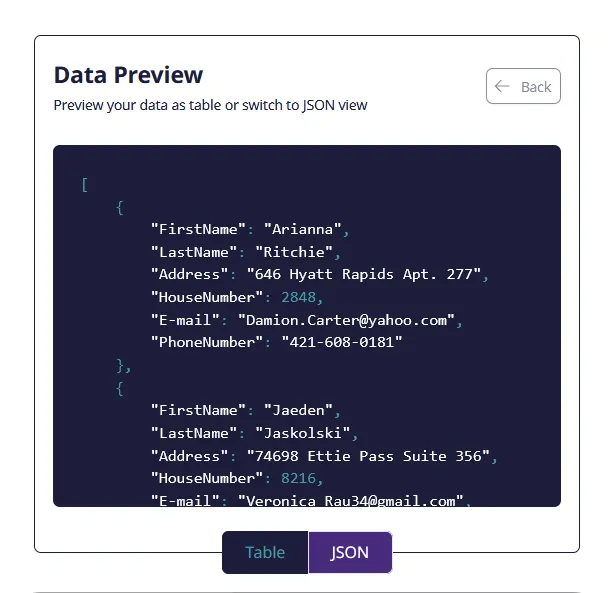
We have created a template with expected data; now it is time to export our data into a file. We will do it simply by clicking on the “Export Data” button in the right “Live Preview” column. A dialog will appear, where we can select the target format of data export. We will choose JSON, and the number of data points set to 20, then click on “Preview & Edit”.
A new dialog with “Data Preview” will open, where you can scroll through the list to see all the generated data.
For a clearer view, you can also see the data presented in a table format.
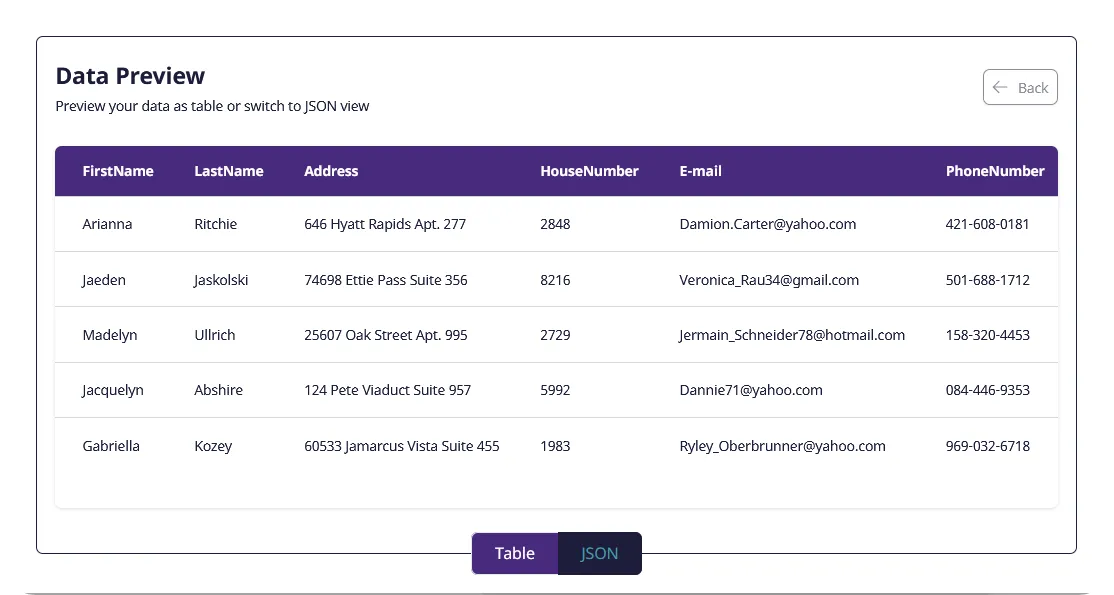
Click “Back”, and the first dialog will reappear; now press the “Execute” button. The file in the selected format will automatically download to your PC.
You have now learned how to generate and download your own basic data set using the DataMaker app. In the next tutorial, we will explore more advanced features the application offers.