Creating a DataMaker template
How to create a template in DataMaker
Follow these simple steps to create a new template in your DataMaker account:
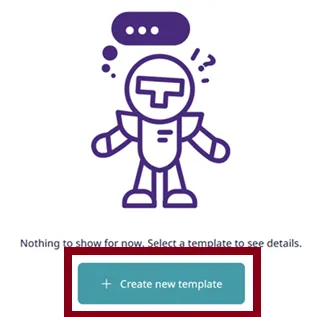
- Starting the template creation: navigate to the “create new template” button in your account and press it. Alternatively, you can select “add new template” from the left panel.
-
Template and preview sections: two sections will appear on your screen:
- On the left side, you’ll find the template area to add your desired data fields for your datasets.
- On the right side, there’s a live preview of the data in JSON format.
-
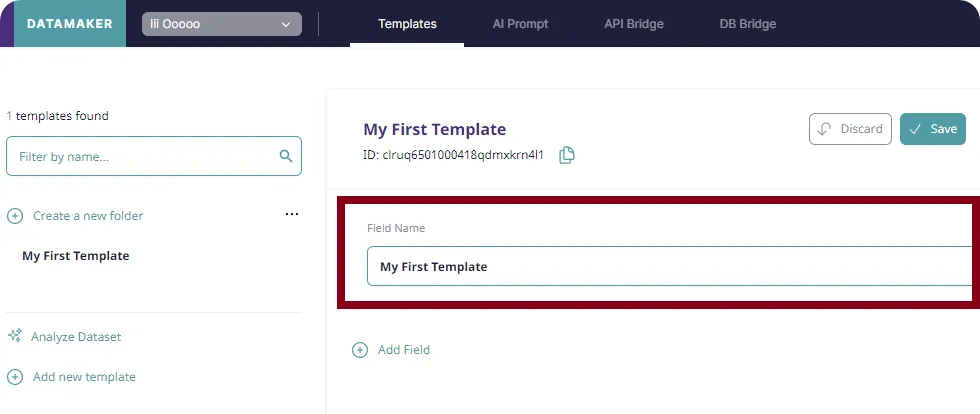
Naming your template: first, name your template. Enter the desired name in the “template name” field, for example, “My First template”.
-
Saving the template: press “save” to store the name of your template.
-
Adding data fields: click “add field” and choose a name for your data set, such as “Clients first names”.
-
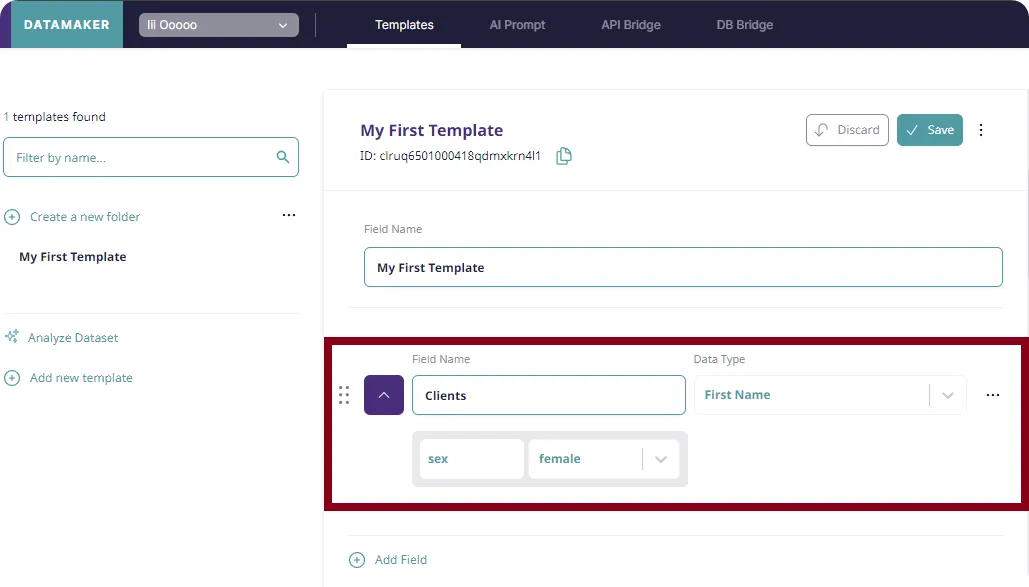
Selecting data Types: in the “data type” dropdown menu, select a data type for your set, for example, “First names”. Here, you can also specify the gender – male or female. For additional information on data types, please refer to this section.
-
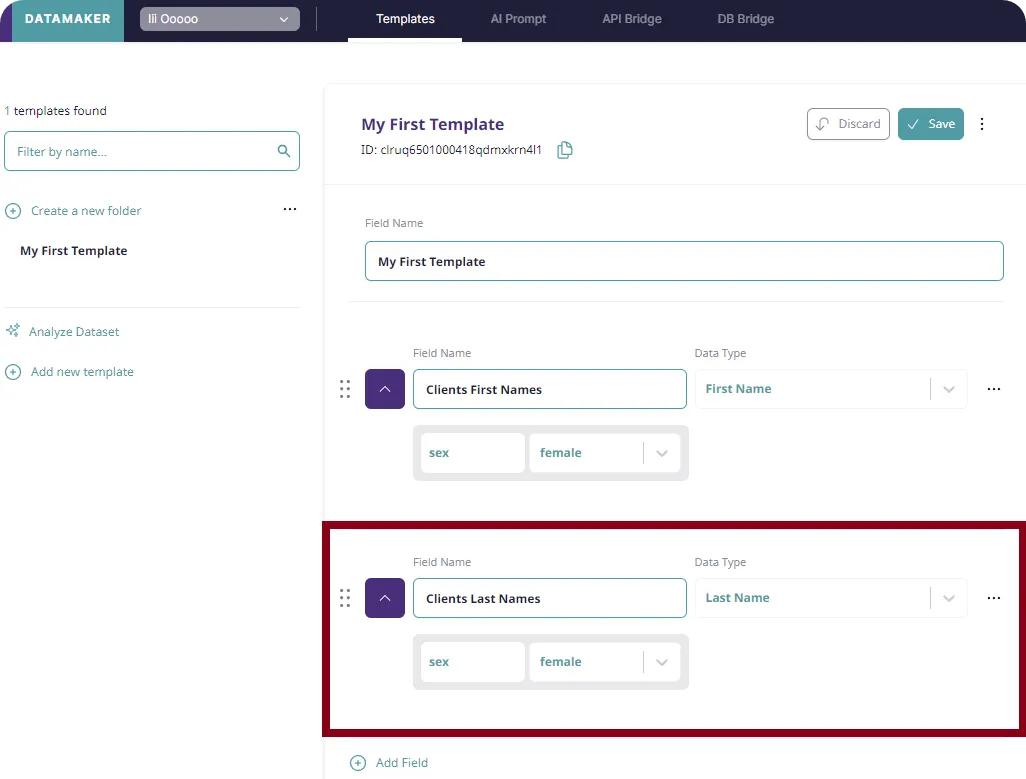
Expanding your template: you can subsequently add more data fields, like “Client last names”.
-
Finalizing the template: your template is saved automatically and can be viewed in the left side panel.
-
Template ready for use: your template is now ready for use.
Congratulations! Your DataMaker template is set up and ready to be utilized.