Exporting data from DataMaker
How to export data in DataMaker
Exporting data from your DataMaker account is a straightforward process. Follow these steps to download your custom data sets:
-
Accessing your account: first, log into your DataMaker account.
-
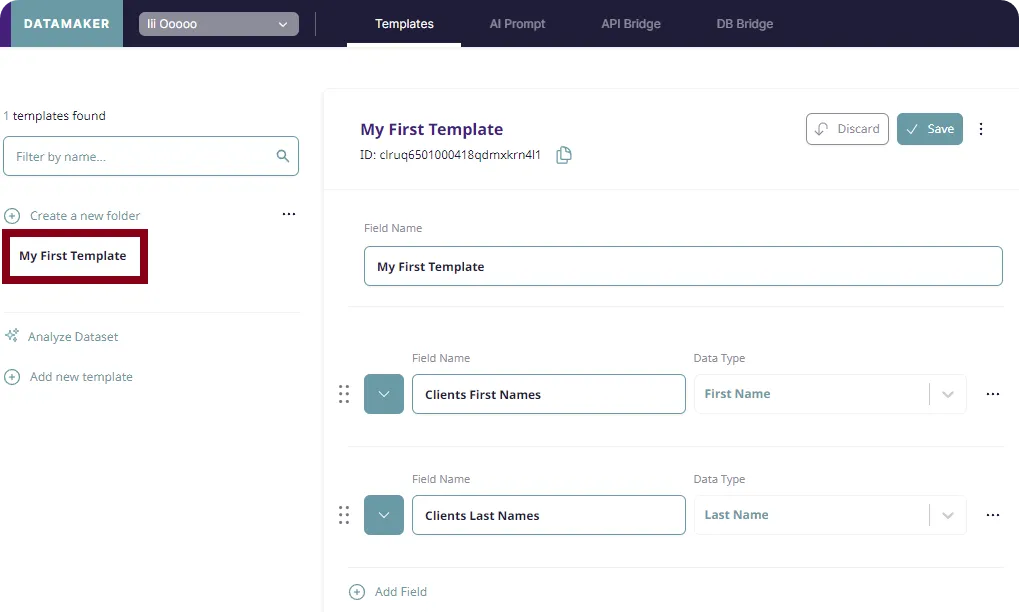
Selecting a template: from the left panel, choose an existing template or create a new one.
-
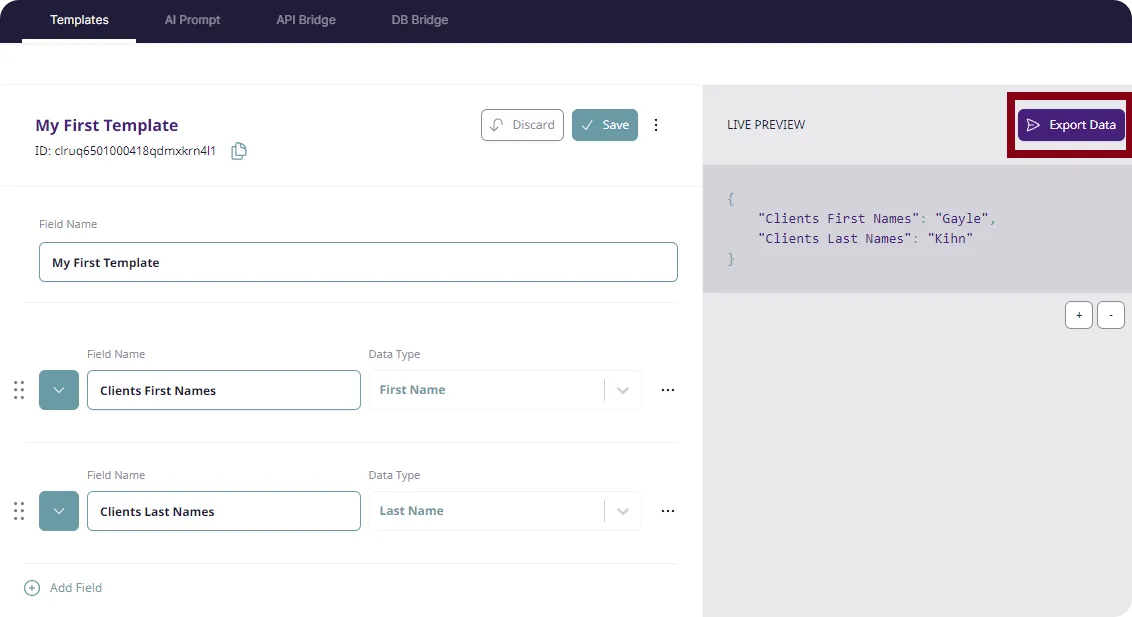
Initiating export: in the live preview panel, locate and click on the “Export Data” option.
-
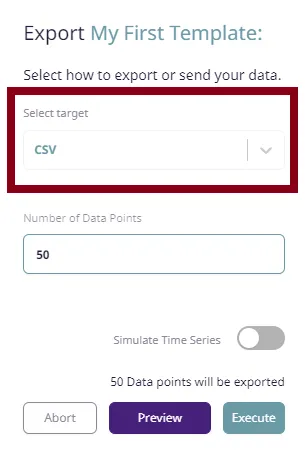
Choosing the output format: from the “Select Target” drop-down menu, select the desired output format for your data set.
-
Specifying data points: enter the number of data points you need. This determines the number of rows in your table.

-
Previewing your data: click on “Preview” to review the data table. This step allows you to check the data before finalizing the export.
-
Finalizing the export: after reviewing, you can either “Execute” (to save the data set) or “Abort” (to cancel the export action).
-
Saving the file: in the save as window, choose the destination folder for your file and click “Save”.
-
Utilizing your data set: your file is now ready and contains the data set for use as needed.
You have successfully exported a data set from DataMaker. This file can now be integrated into your projects or analyzed as per your requirements.